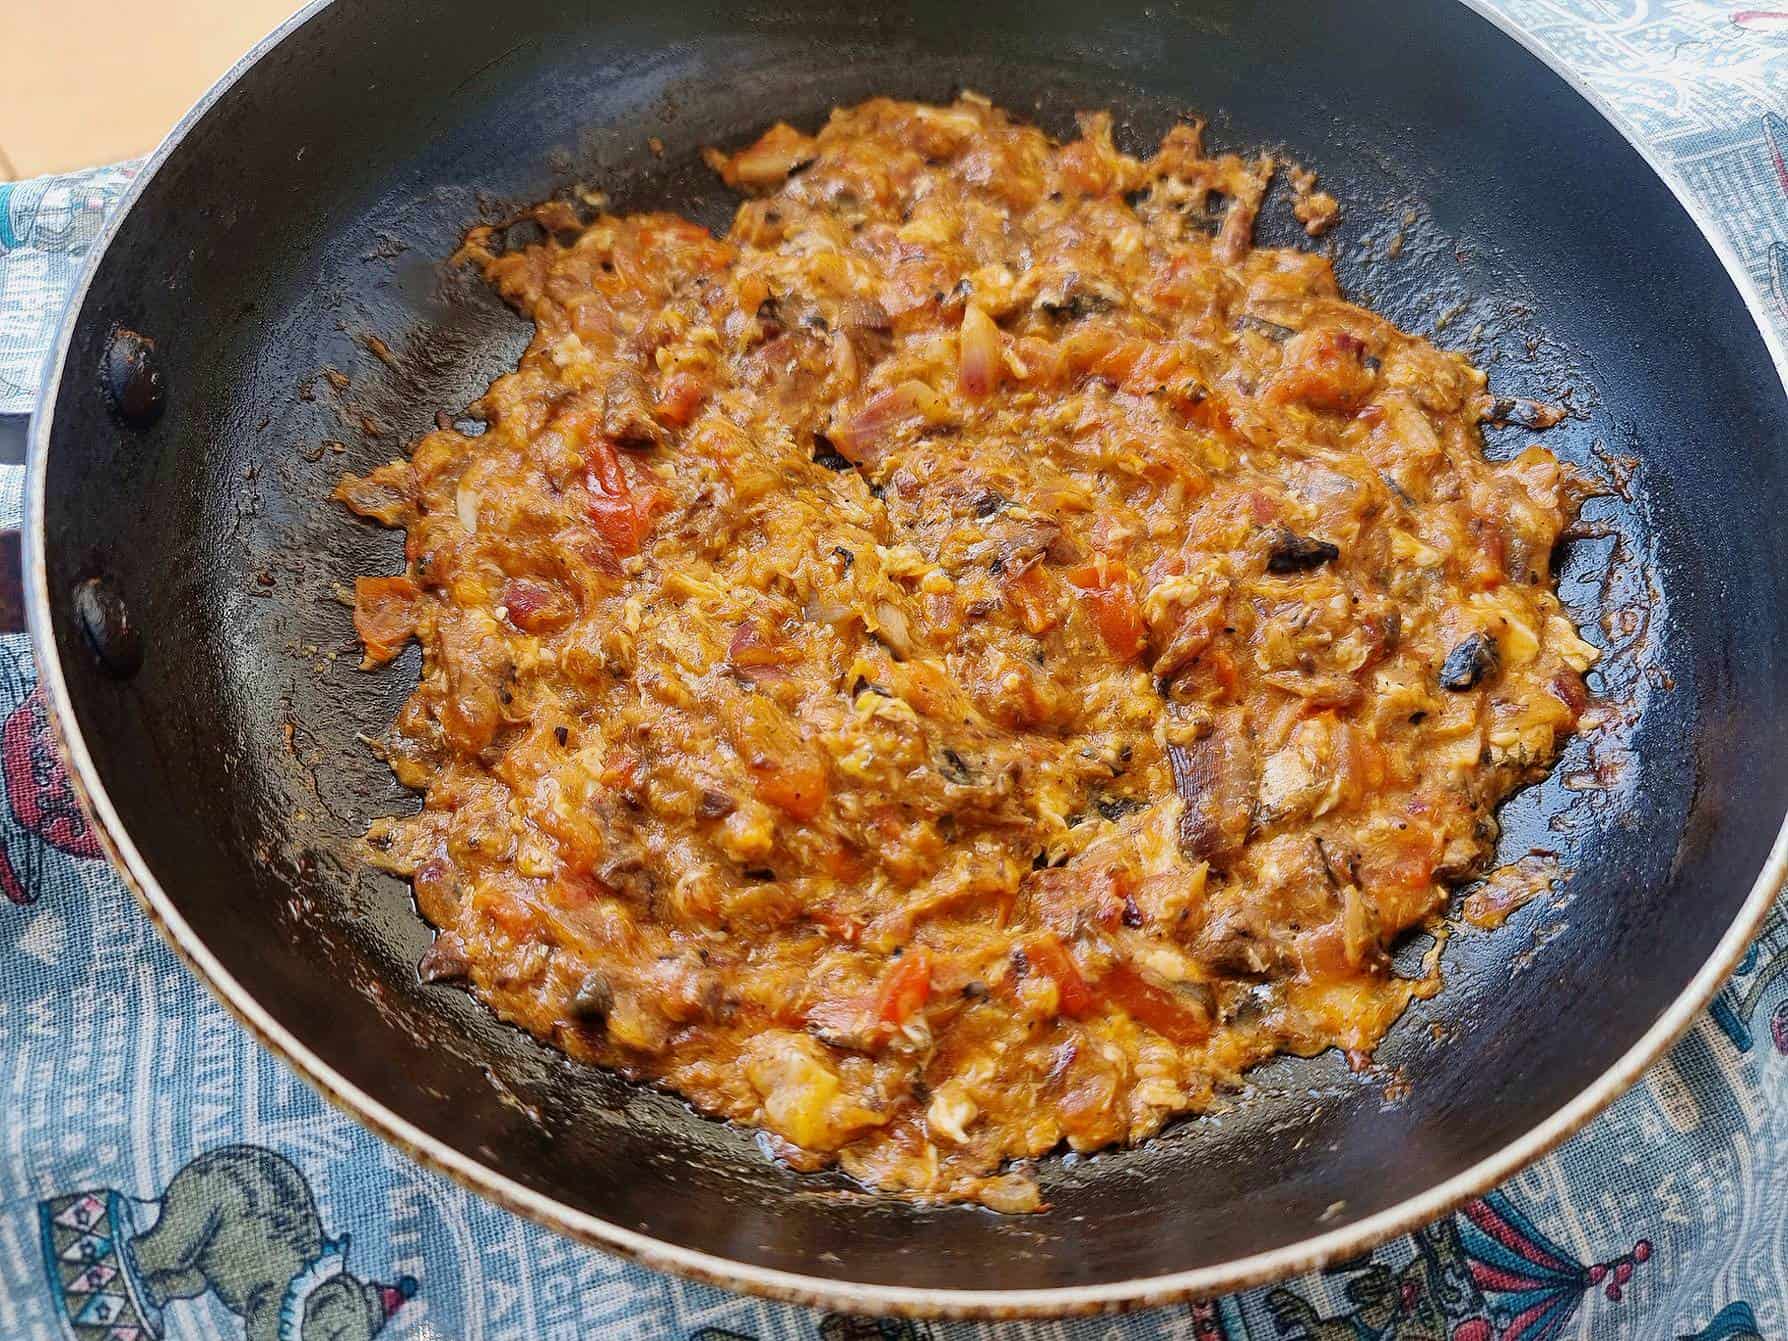
Ginisang Sardinas is a Filipino breakfast dish made with canned sardines which involves sautéing chopped tomatoes, onions, and garlic before mixing them with eggs to create a scrambled texture. This is an easy and quick dish to make which is popular among students and working adults.
Jump to:
When I was a college student, my busy schedule left me with little time for cooking in my apartment. Thankfully, Filipino canned sardines became my lifesaver, as they can be eaten directly without cooking. Moreover, they provide a generous amount of protein, essential for sustaining the energy I needed during those demanding times
I wanted to make my canned sardines taste better, similar to restaurant quality. So, I decided to add and sauté different ingredients like tomato, onion, garlic, and egg, which I seasoned with salt, black pepper, and sugar. The first time I made this, I found it really delicious since it's rich in flavor, making it perfect to serve with rice.
As you know, I made this for my children during breakfast, and he absolutely loved it. It tastes as good, if not better, than most restaurant-served canned sardines. If you're a student or a busy working adult, I highly recommend trying your hand at cooking this delicious ginisang sardinas with egg.
Recipe Ingredient
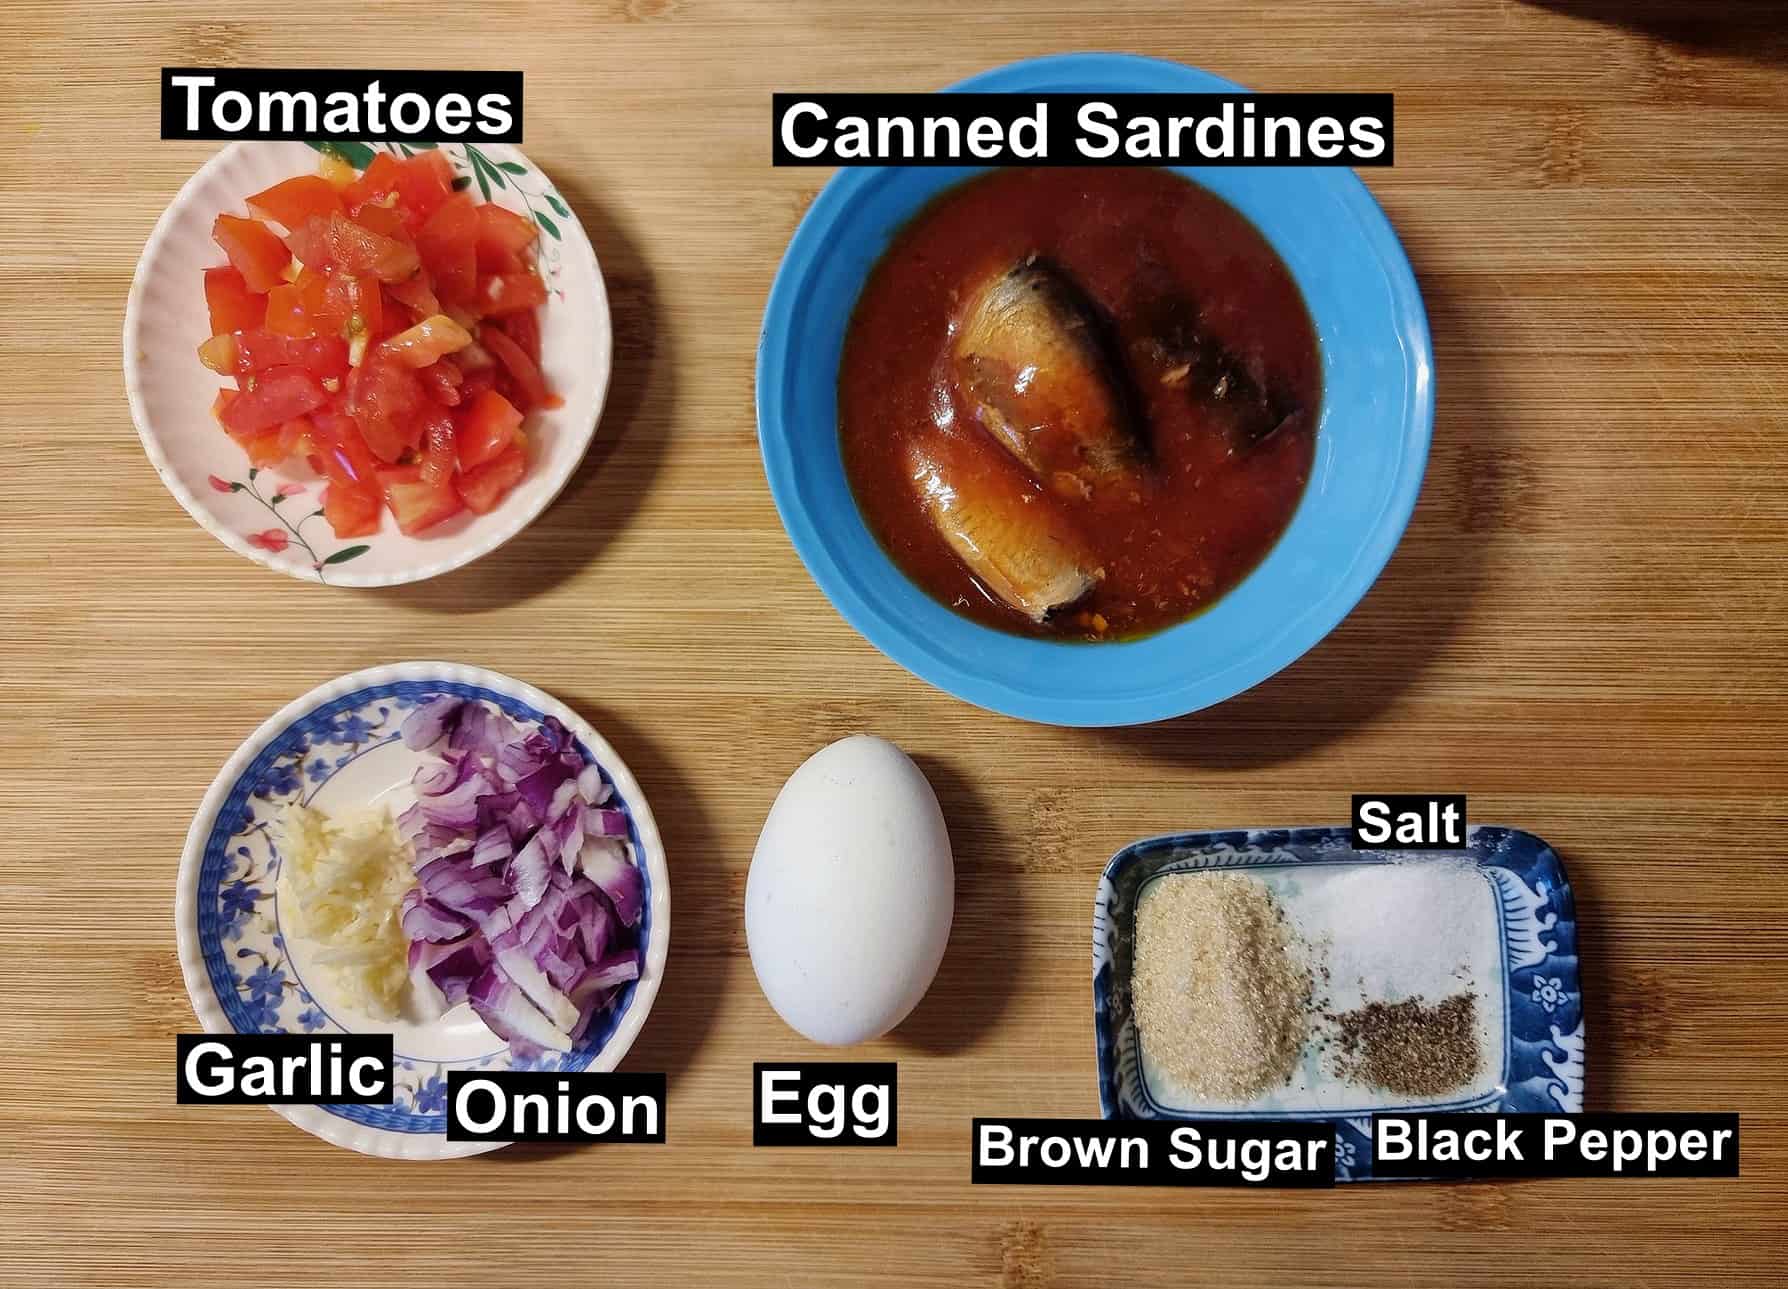
To make Ginisang Sardinas with egg, you only need few ingredients:
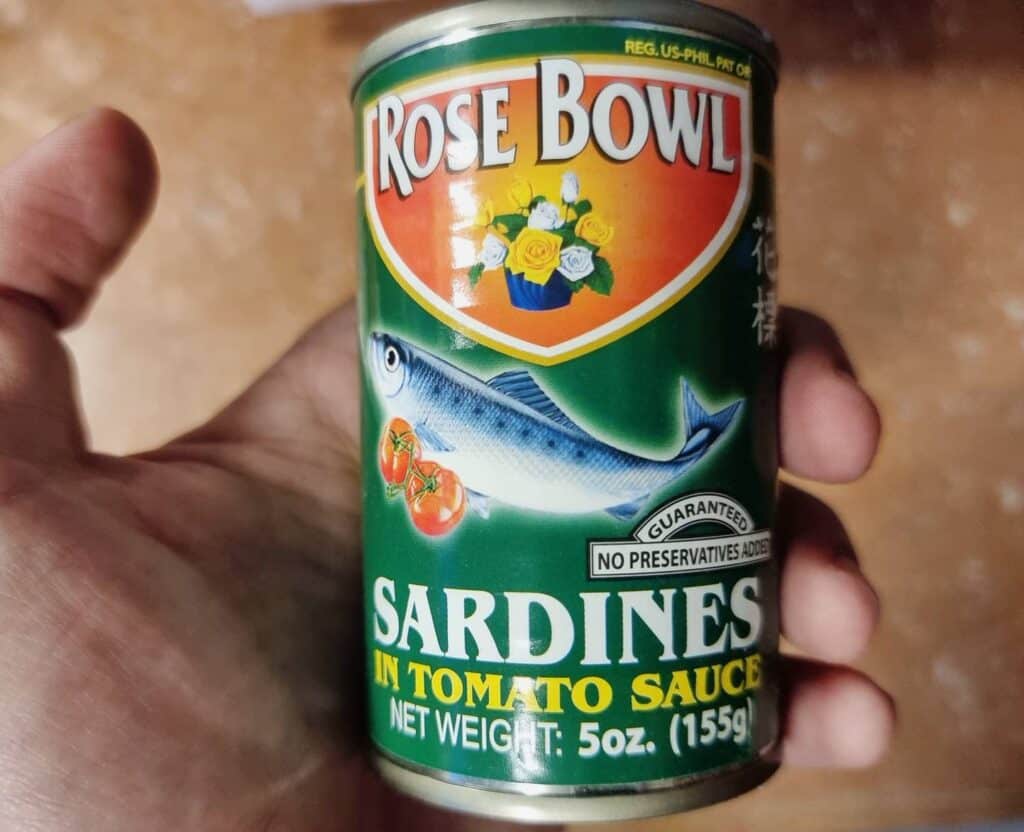
Canned Sardines: These ready-made canned sardines are available in most Filipino convenience stores. While there are many brands to choose from, my preferred options are Ligo and Rose Bowl, as they both offer a more satisfying taste.
Egg: Adding egg to Filipino sautéed sardines creates a scrambled texture instead of a soupy one, providing an extra protein boost to the dish.
Tomatoes: Including tomatoes not only enhances the flavor but also contributes to the overall healthiness of the dish since it contain Vitamin C.
Seasoning: I use brown sugar, salt and black pepper to enhance flavor of my dish.
Other Ingredients: In addition to the canned sardines, you'll need red onion and garlic for added flavors, along with vegetable oil for sautéing the ingredients.
Cooking Instruction & Tips
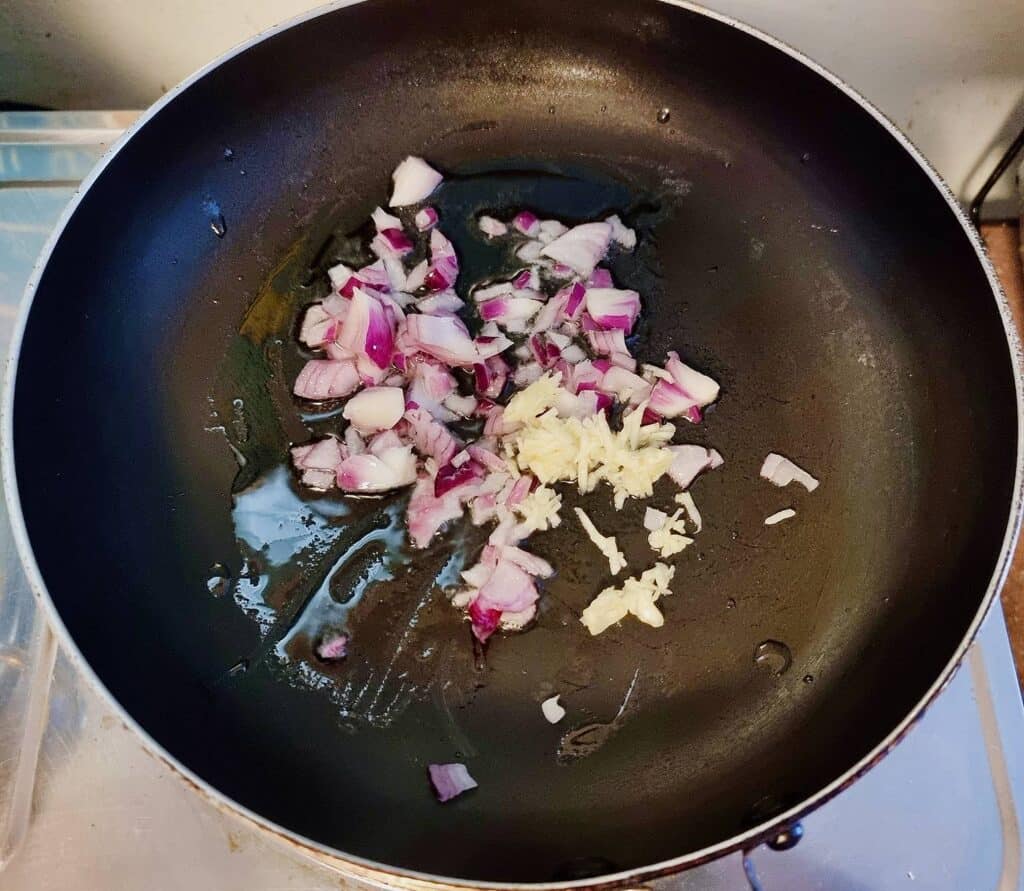
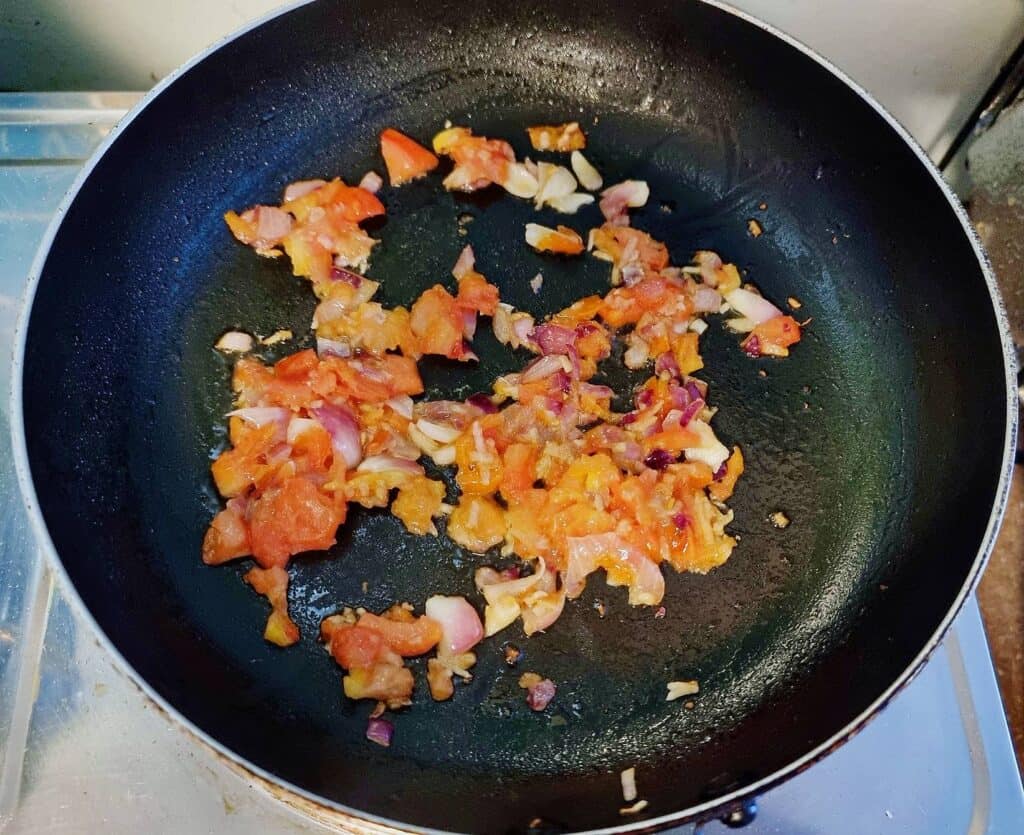
- To make Ginisang Sardinas with egg, firstly I added few tablespoons of vegetable oil. When its hot, I add chopped red onion & garlic which I sauteed for several minutes till it turns translucent.
- Next, I added the chopped red tomatoes and stir for several minutes. You need to make sure the tomatoes became soft and mushy before pouring the canned sardines.
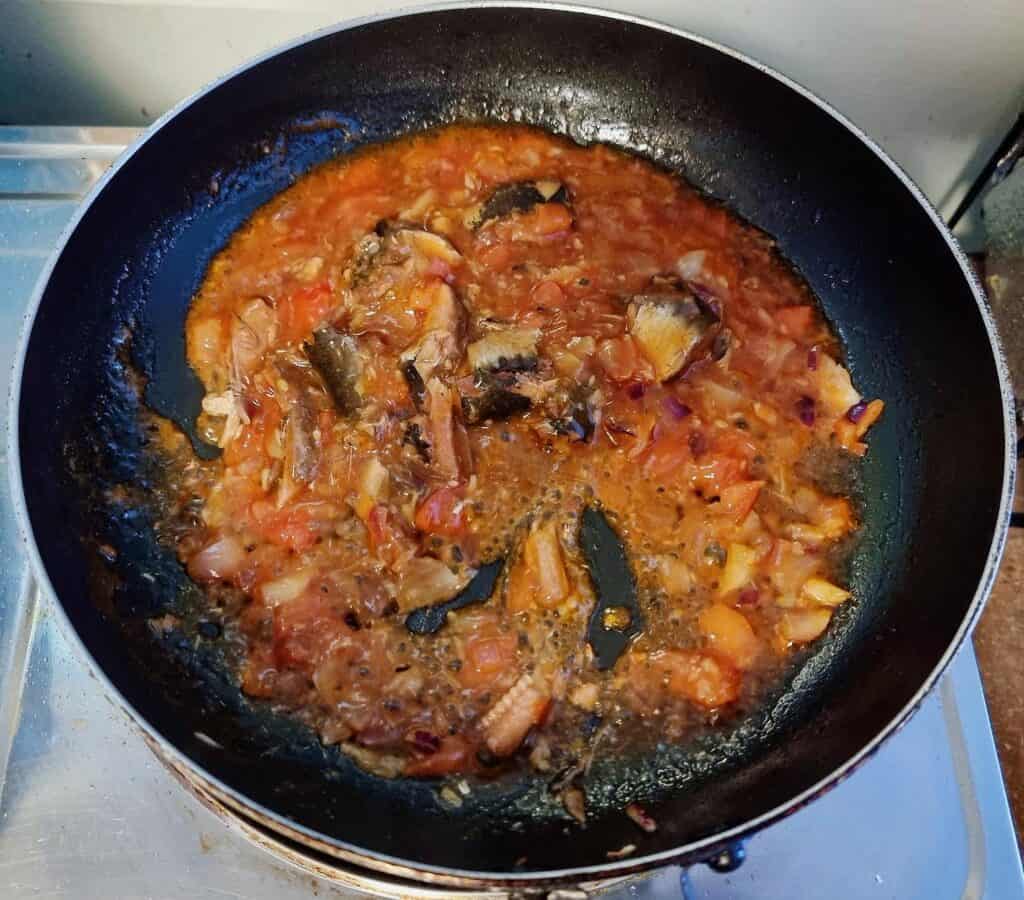

- When adding the canned sardines, give a quick stir and then add salt, black pepper, and brown sugar for seasoning.
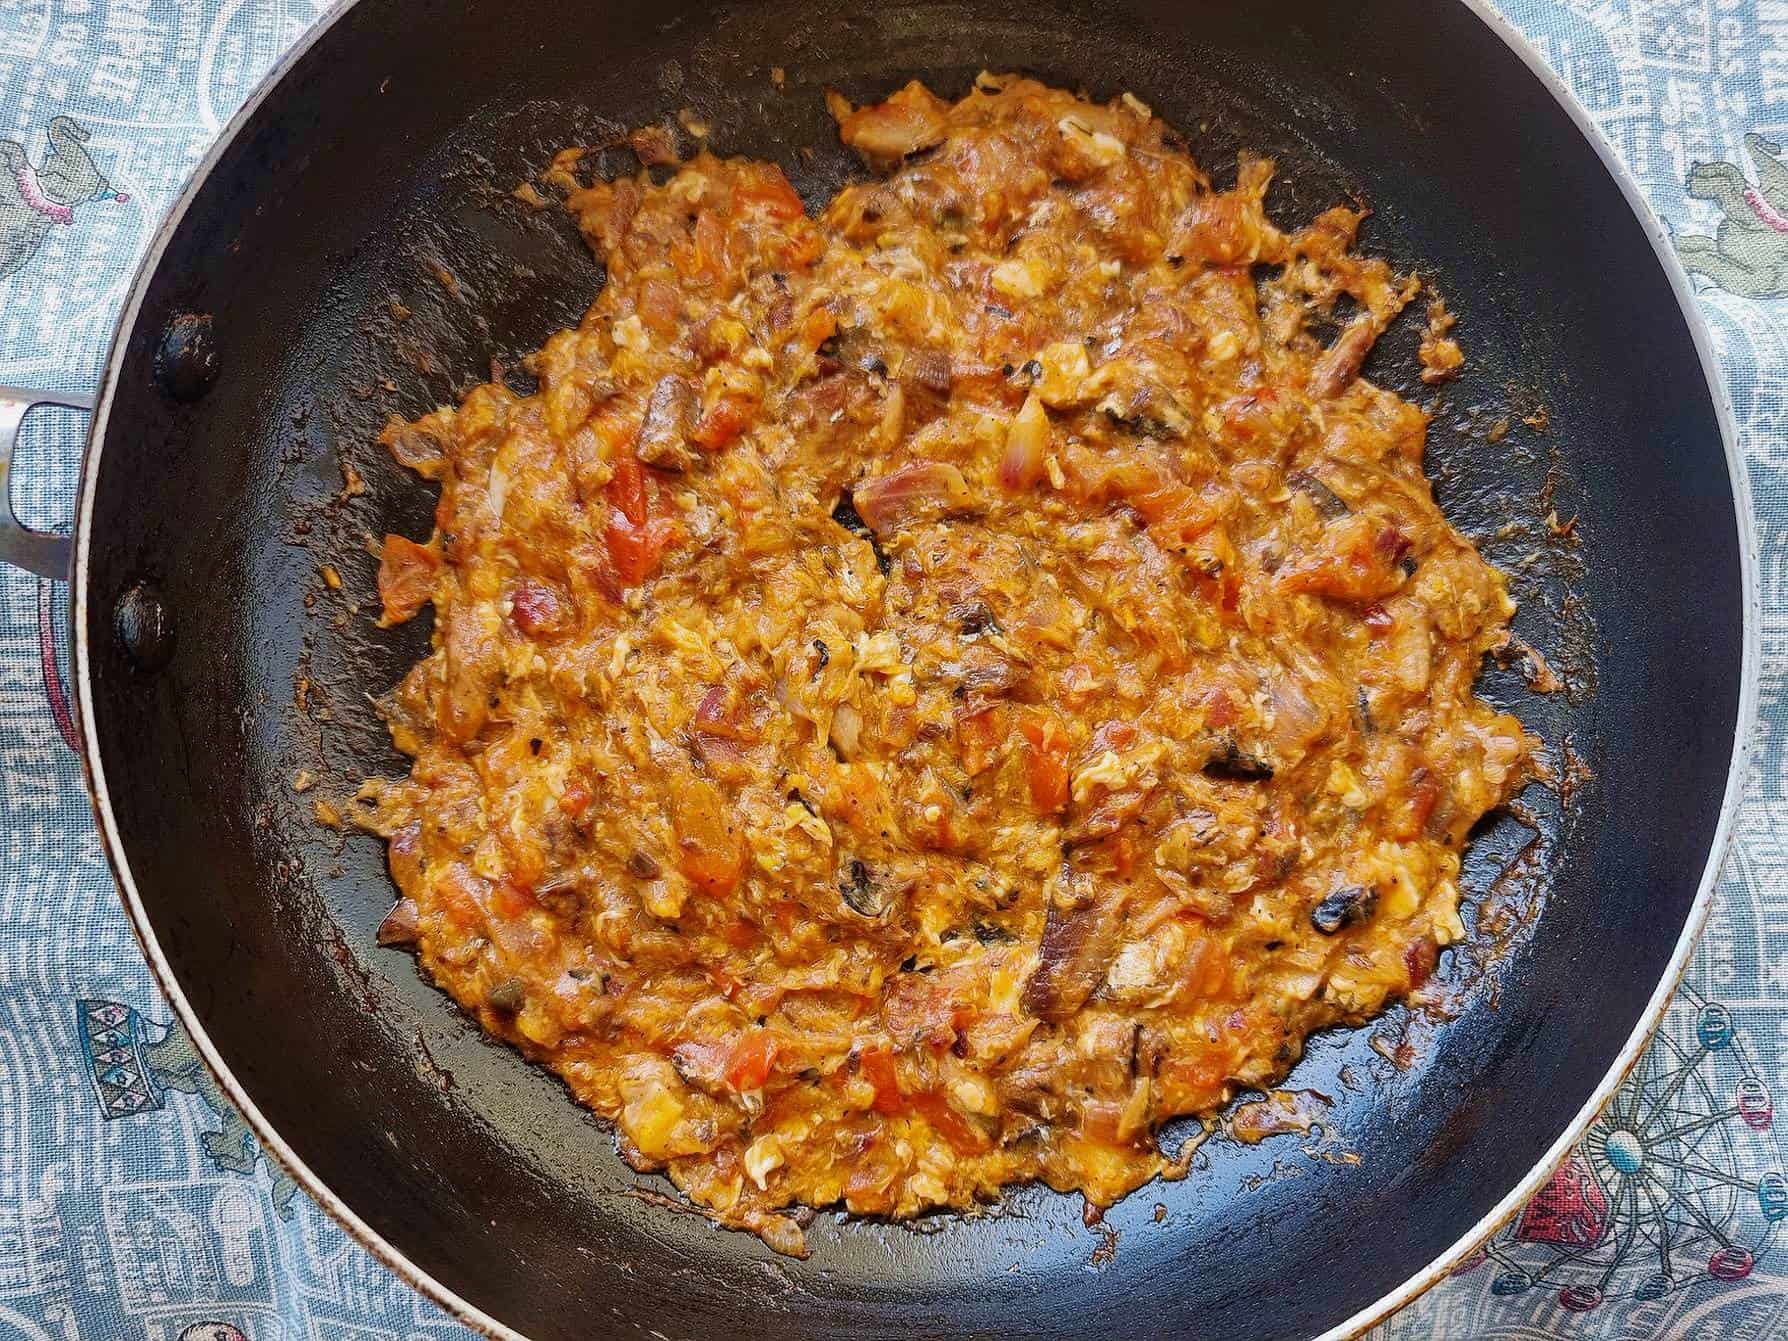
- Lastly, I added the egg which I gently stir till it achieved a scrambled texture. This is best to serve with rice.
Other Filipino Breakfast Recipes to try
Here are my recommended Filipino breakfast recipes you can cook at home:
📋 Recipe Card
Ginisang Sardinas with Egg
Ingredients
- 1 Ready-made canned sardines about 155 grams
- 1 egg
- 1 medium-sized Tomato chopped
- 2 teaspoon of brown sugar
- ½ teaspoon Salt adjust to taste
- ¼ teaspoon Black pepper adjust to taste
- 1 small Red onion finely chopped
- 2 cloves Garlic minced
- 2 tablespoons Vegetable oil
Instructions
- Add a few tablespoons of vegetable oil in medium-low heat
- Once the oil is hot, add chopped red onion and garlic to the pan. Stir them until translucent, taking several minutes to achieve this texture.
- Add the chopped red tomatoes to the sautéed onion and garlic. Stir the mixture for several minutes until the tomatoes become soft and mushy.
- When the tomatoes reach the desired consistency, add the canned sardines to the pan. Give it a quick stir, and then add salt, black pepper, and brown sugar for seasoning.
- Finally, add the egg and then gently stir until it achieves a scrambled texture. This flavorful Ginisang Sardinas with egg is ready to be served, and it pairs exceptionally well with rice.


Comments
No Comments